


Welcome to the wonderful world of DIY fashion! Have you ever looked at your favorite dress and wished it had a different hemline? Maybe you want to transform a basic straight hemline into a playful handkerchief hemline, or add some edge with an asymmetrical hemline.
Well, the good news is that with a few simple tools and techniques, you can easily transform your dress hemline into the style of your dreams!
Learning how to DIY a dress hemline into different styles is not only a fun and creative way to revamp your wardrobe, but it's also a practical skill that can save you money and reduce your environmental impact.
So, grab your scissors, thread, and sewing machine, and get ready to unleash your creativity!
Materials and Tools Needed
 Before we dive into the different hemline styles and techniques, let's first take a look at the materials and tools you'll need to get started.
- Measuring tape
- Fabric scissors
- Sewing machine or hand-sewing needle and thread
- Pins
- Chalk or fabric marker
- Iron and ironing board
- Optional: seam ripper, additional fabric, or embellishments
Choosing the Right Dress
 Before you start altering your dress hemline, it's important to choose the right dress that is suitable for DIY hemline alterations. Here are some dress styles that are suitable for alteration.
- Choose a dress that fits well: The dress you choose should fit you well, especially around the hips and waist. This will ensure that the new hemline sits at the right place on your body and looks flattering.
- Look for a simple design: A dress with a simple design, such as a shift dress or a basic a line dress, will be easier to work with than a dress with intricate details or embellishments.
This will make it easier to focus on the hemline alterations without getting bogged down by other design elements.
- Opt for a fabric that is easy to work with: Choose a fabric that is easy to cut and sew, such as cotton, linen, or a lightweight knit. Avoid fabrics that are too thick or stiff, as they may be more difficult to work with.
- Consider the color and pattern: When choosing a dress for hemline DIY, consider the color and pattern of the fabric. Solid colors or subtle patterns will be easier to work with than bold prints or bright colors, as they will allow the new hemline to stand out.
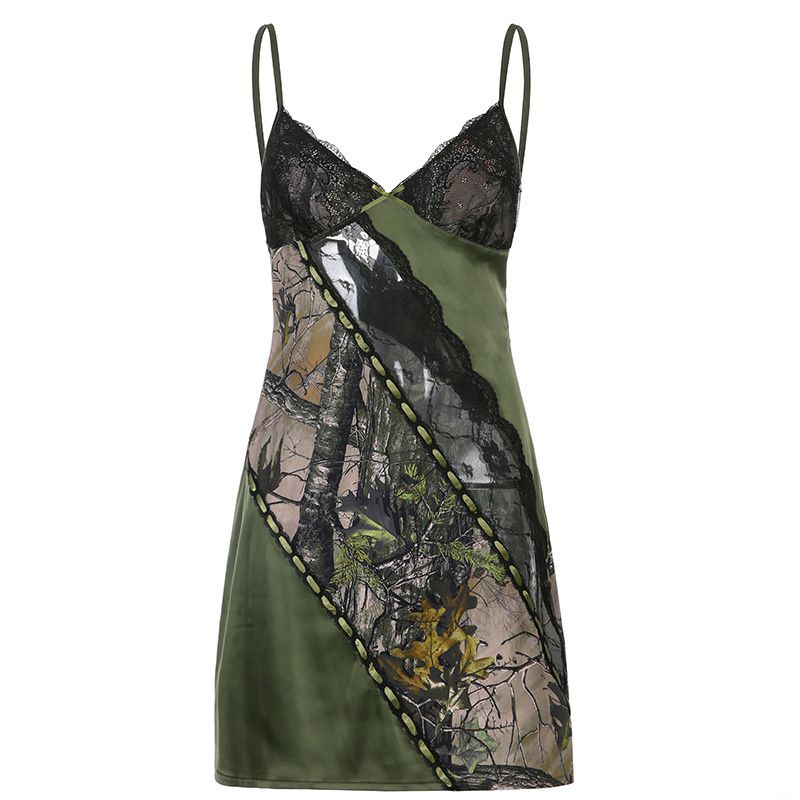
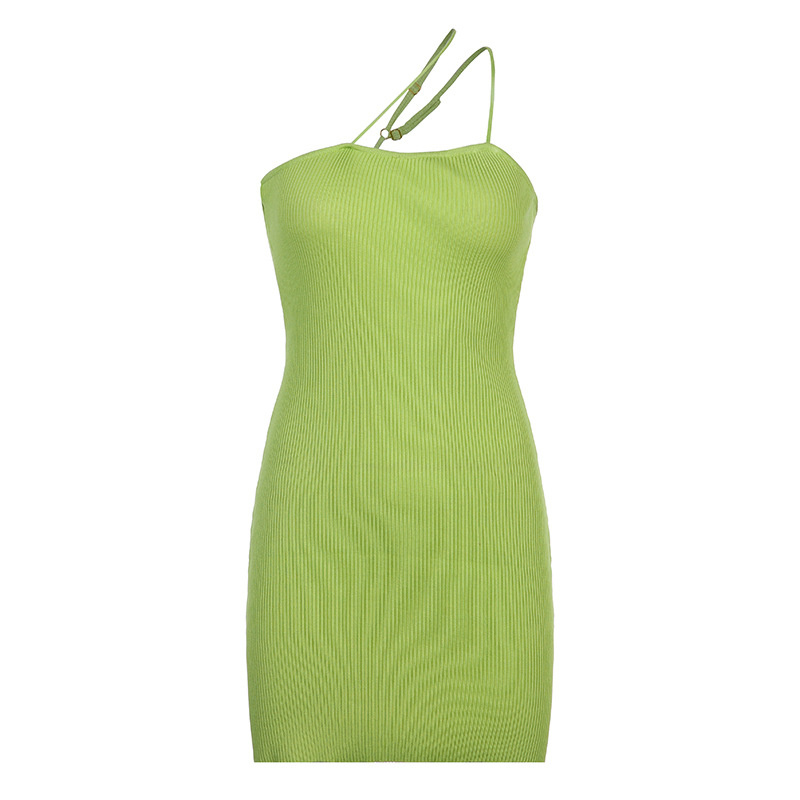
- Think about the style of the dress: The style of the dress should also be taken into account when choosing a dress for hemline DIY. Some styles, such as maxi dresses or midi dresses, may bemore suitable for certain hemline styles than others.
For example, a maxi dress could be transformed into a stunning high-low hemline, while a mini dress could be turned into a fun and flirty handkerchief hemline.
Step-by-Step Guide to Hemline Alterations
 Now that you have all the necessary tools and materials, it's time to get started on your hemline DIY project!
Curved Hemline
- Using a measuring tape, measure the new desired length of the hemline from the bottom of the dress. Use a chalk or fabric marker to mark the new hemline length at regular intervals along the edge of the fabric.
- Using a curved ruler or a round object such as a plate or bowl, create a smooth, even curve along the hemline by gently tracing along the marked line with the object. Make sure to keep the curve even and consistent throughout.
- Using a pair of fabric scissors, cut along the curved marked line. Make sure to cut slowly and carefully, following the curve closely to avoid jagged edges or uneven cutting.
- Fold the fabric up to the desired length, making sure that the hemline is even and smooth.
Use straight pins to secure the hemline in place, placing them perpendicular to the edge of the fabric. Make sure to pin the hemline at regular intervals to keep it evenly secured.
- Using a sewing machine or by hand, sew along the edge of the hemline using a straight stitch.
Start sewing at one end of the hemline and continue to sew along the entire length, removing the pins as you go. Make sure to sew slowly and steadily, keeping the stitches straight and even.
- Trim any excess fabric from the hemline, making sure to leave a small amount of extra fabric to prevent fraying. Press the hemline with an iron, using a pressing cloth if necessary, to ensure a smooth and even curve.
When pressing, make sure to press the seam towards the top of the dress to create a clean and professional-looking finish.
 High-Low Hemline
- Using a measuring tape, measure the new desired length of the hemline from the bottom of the dress for both the front and back separately.
Use a chalk or fabric marker to mark the new hemline length at regular intervals along the edge of the fabric for both the front and back.
- Using a pair of fabric scissors, cut along the marked lines for both the front and back of the dress. Make sure to cut straight and evenly, following the lines closely to avoid jagged edges or uneven cutting.
- Fold the fabric up to the desired length, making sure that the back hemline is longer than the front hemline.
Use straight pins to secure the hemline in place, placing them perpendicular to the edge of the fabric. Make sure to pin the hemline at regular intervals to keep it evenly secured.
- Using a sewing machine or by hand, sew along the edge of the hemline using a straight stitch.
Start sewing at one end of the hemline and continue to sew along the entire length, removing the pins as you go. Make sure to sew slowly and steadily, keeping the stitches straight and even on your dresses for women.
- Trim any excess fabric from the hemline, making sure to leave a small amount of extra fabric to prevent fraying. Press the hemline with an iron, using a pressing cloth if necessary, to ensure the front and back hemlines are even and symmetrical.
When pressing, make sure to press the seam towards the top of the dress to create a clean and professional-looking finish.
 Handkerchief Hemline
- Using a measuring tape, measure the new desired length of the hemline from the bottom of the dress. Use a chalk or fabric marker to mark the new hemline length at regular intervals along the edge of the fabric.
- Using a pair of fabric scissors, cut along the marked line. Make sure to cut straight and evenly, following the line closely to avoid jagged edges or uneven cutting.
- Fold the fabric up to the desired length, making sure that the hemline is even and straight. Starting from the center of the hemline, create a diagonal fold towards the corner of the hemline, so that the corner forms a triangle.
Pin the triangle in place, making sure to keep the fabric taut and smooth.
- Using a sewing machine or by hand, sew a straight stitch along the edge of the hemline, starting from the top of the triangle and continuing along the edge of the hemline.
Remove the pins as you go, making sure to keep the fabric taut and smooth. Repeat this process for each corner of the hemline, ensuring that the corners are sharp and the hemline is even.
- Trim any excess fabric from the hemline, making sure to leave a small amount of extra fabric to prevent fraying. Press the hemline with an iron, using a pressing cloth if necessary, to ensure a clean and professional-looking finish.
When pressing, make sure to press the seam towards the top of the dress to create a clean and polished look. This style is perfect for a midi dress.
Asymmetrical Hemline
- Using a measuring tape, measure the new desired length of the hemline from the bottom of the dress. Use a chalk or fabric marker to mark the new hemline length at regular intervals along the edge of the fabric, keeping in mind the balance and flow of the dress.
Create an uneven pattern by varying the length of the hemline, such as creating a longer hemline on one side of the dress.
- Using a pair of fabric scissors, cut along the marked line. Make sure to cut slowly and carefully, following the marked line closely to create an even and visually appealing hemline.
- Fold the fabric up to the desired length, making sure that the hemline is balanced and visually appealing.
Pin the hemline in place, placing the pins perpendicular to the edge of the fabric. Make sure to pin the hemline at regular intervals to keep it evenly secured.
- Using a sewing machine or by hand, sew along the edge of the hemline using a straight stitch. Start sewing at one end of the hemline and continue to sew along the entire length, removing the pins as you go.
Make sure to sew slowly and steadily, keeping the stitches straight and even.
- Trim any excess fabric from the hemline, making sure to leave a smallamount of extra fabric to prevent fraying.
Press the hemline with an iron, using a pressing cloth if necessary, to ensure a clean and professional-looking finish. When pressing, make sure to press the seam towards the top of the dress to create a clean and polished look.
Useful tips:
- Always measure and mark the new hemline length before cutting to ensure accuracy and precision.
- Use fabric scissors to avoid fraying and uneven cuts.
- Pin the hemline in place before sewing to ensure it stays in place during the sewing process.
- Use a straight stitch and a matching thread color to ensure a clean and seamless finish.
- Press the hemline with an iron to ensure a crisp and professional-looking finish.
Final Say
 Hemlines can completely transform the look and feel of summer dresses. Whether you're going for a classic straight hemline or something more playful and unique like an asymmetrical or handkerchief hemline, there are endless possibilities to explore.
We encourage you to experiment with your own ideas and create something that truly reflects your personal style. Don't be afraid to try something new and push the boundaries of traditional hemlines. You never know what kind of amazing creation you might come up with!
Remember, hemlines are not just functional, they are also a fun and creative way to express yourself through fashion. So, go ahead and let your imagination run wild – the possibilities are endless!